

When you’re renting, it can be hard to want to invest a lot of money into your home. But, being a girl who moved around my whole life, I’m a believer in making wherever you live feel like home even if it’s only for a little while.
My husband and I decided to rent for awhile to explore the housing market and while our place is overall adorable… The space where I work was just NOT that inspiring. So, I went on my way to making it feel a little more “us” and found myself staring at the horrible fireplace sifting through my options to change the look without costing an arm and a leg. While staring at a pile of gorgeous Birch wood, I came up with the idea to cover the entire fireplace since we don’t use it anyway, by refacing it with a faux fireplace that cost about fifty bucks! Details below!
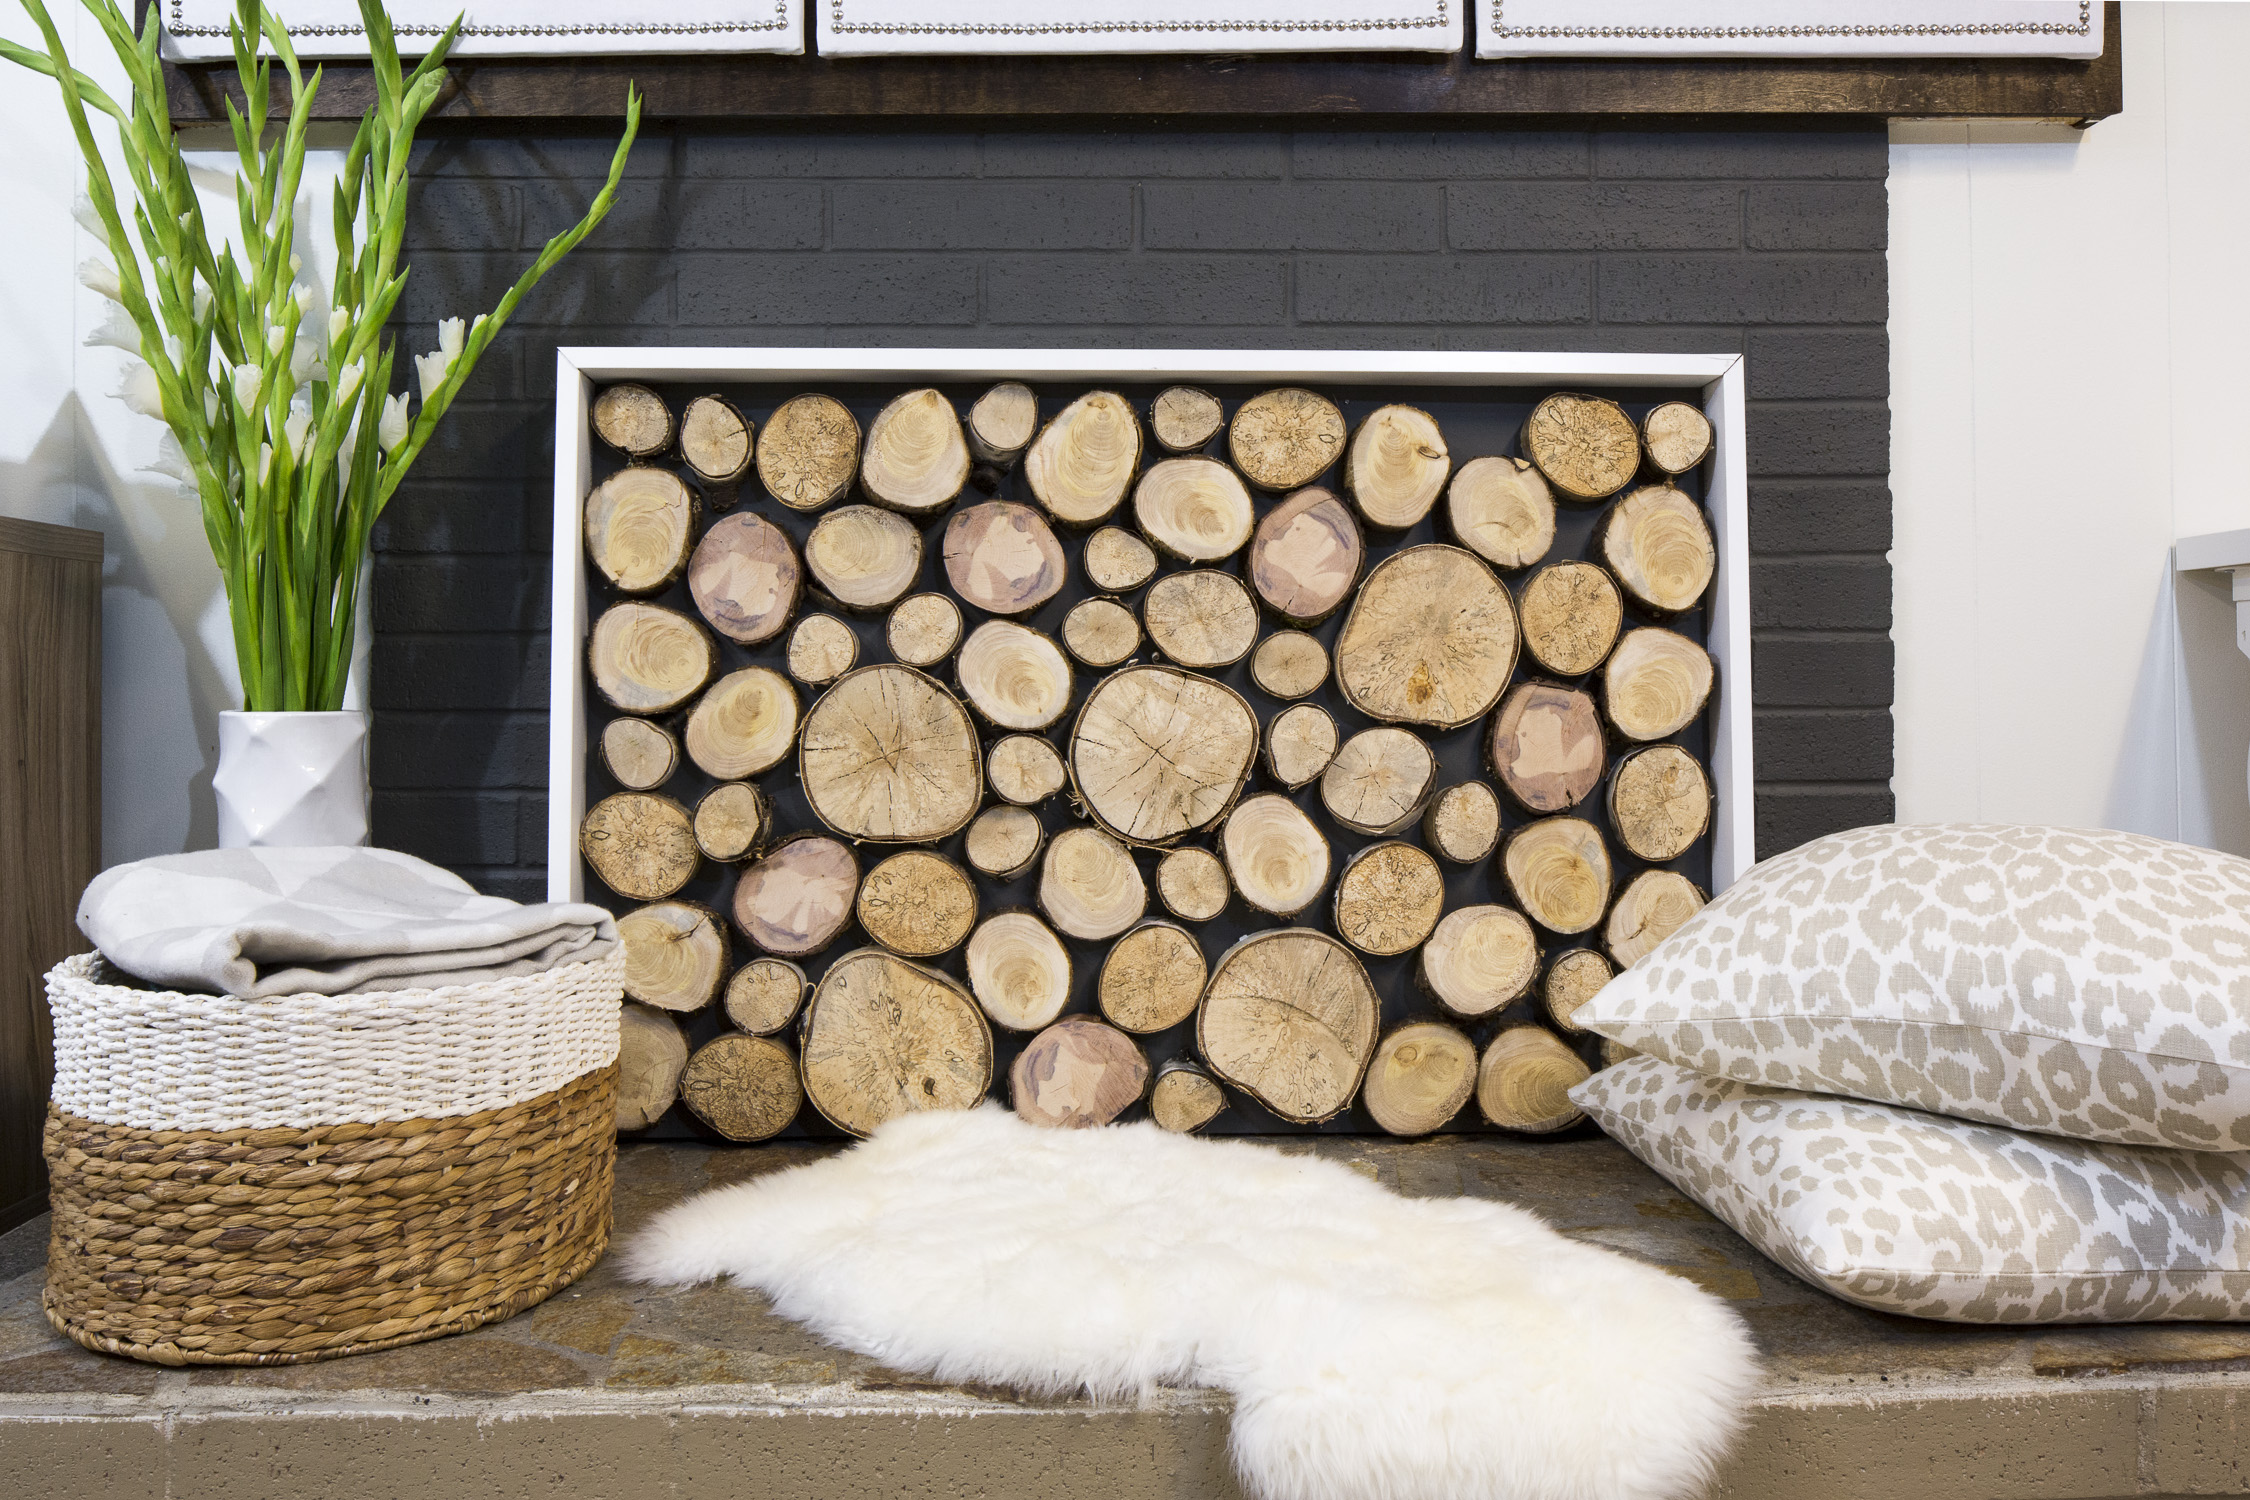
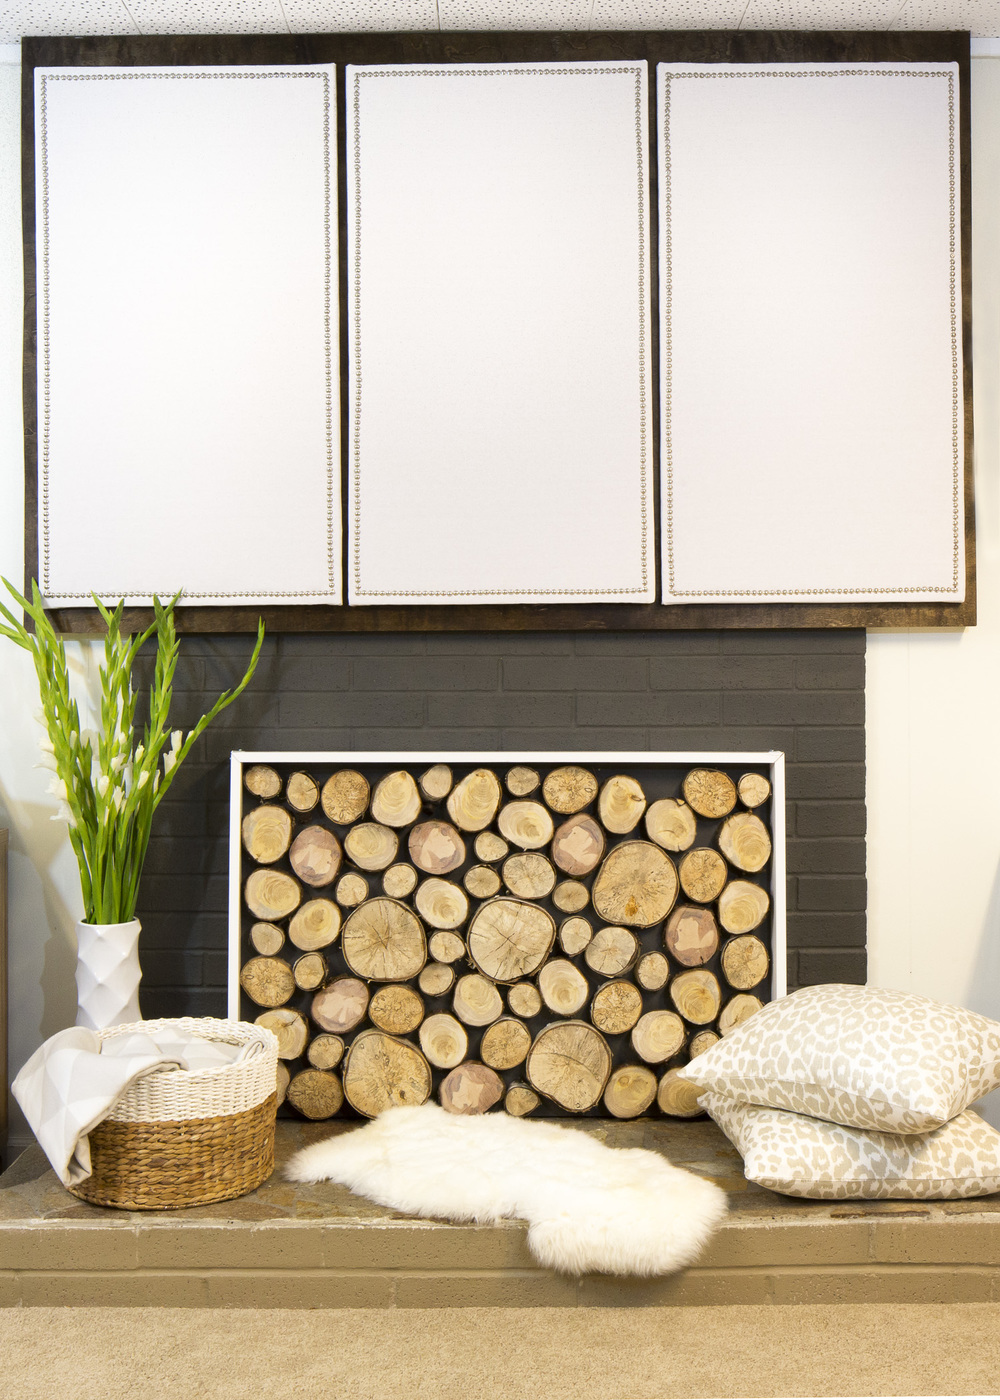
BEFORE & AFTER

MATERIALS
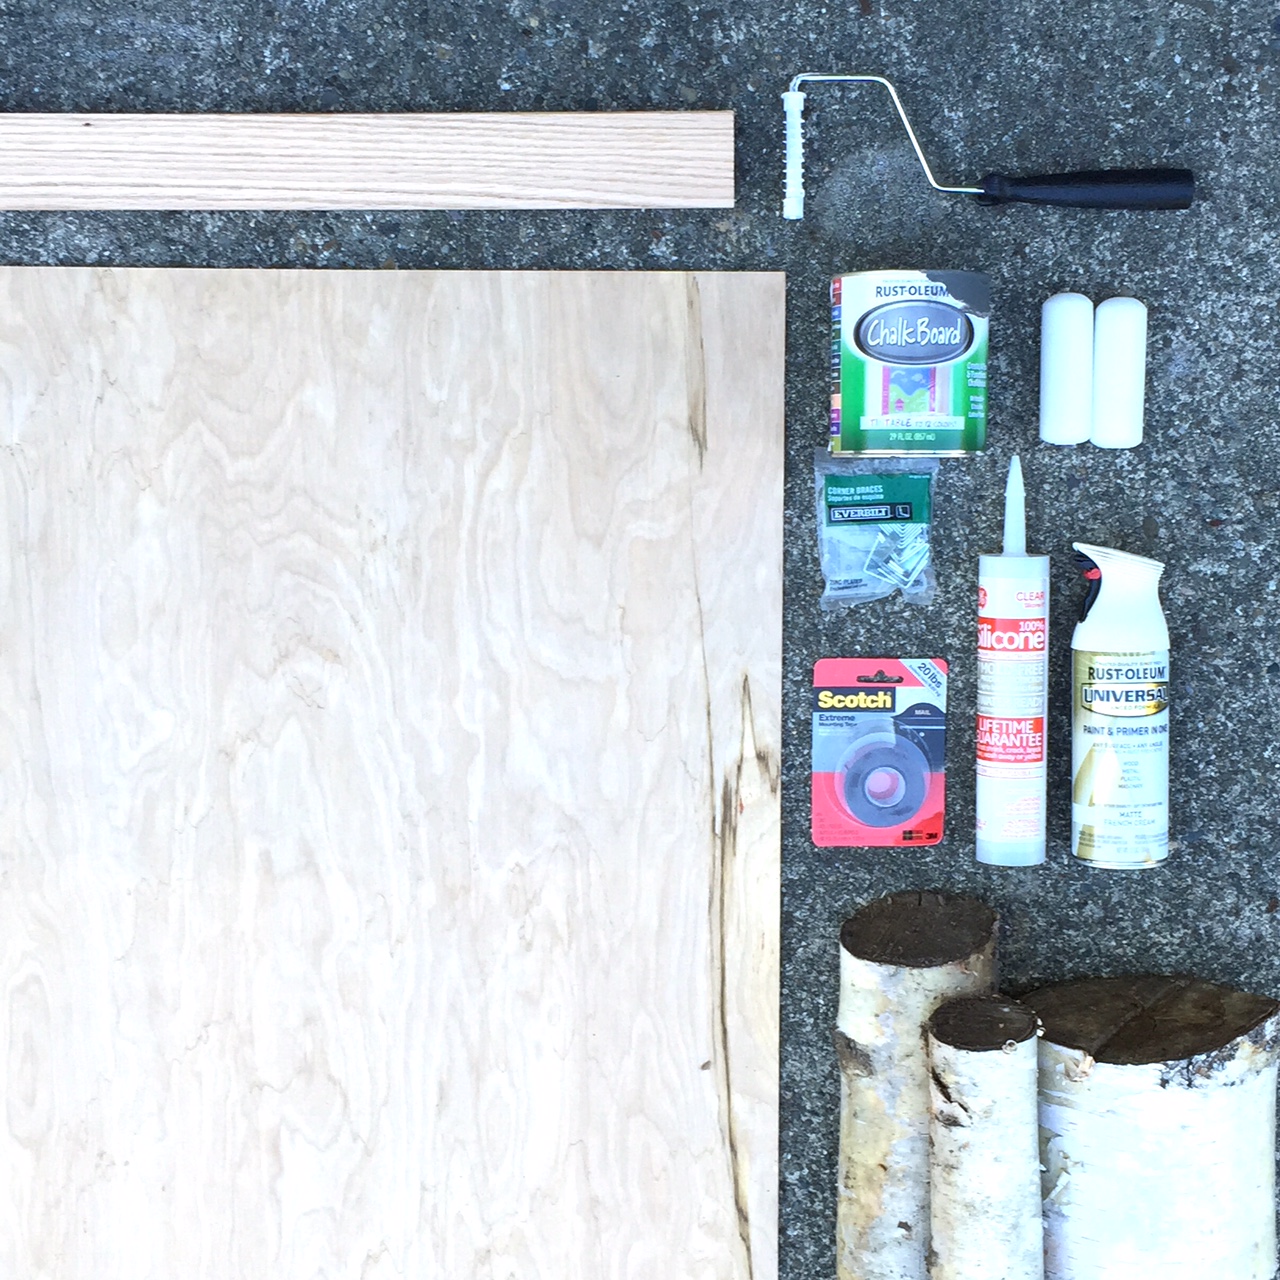
Materials used for Fireplace Screen
- (1) 1/4″ back panel board (cut to fit)
- (3) 1/2″x4″x linear feet needed for frame pieces (cut to fit)
- Clear Silicone
- Small L Brakets
- 3/4″ Screws
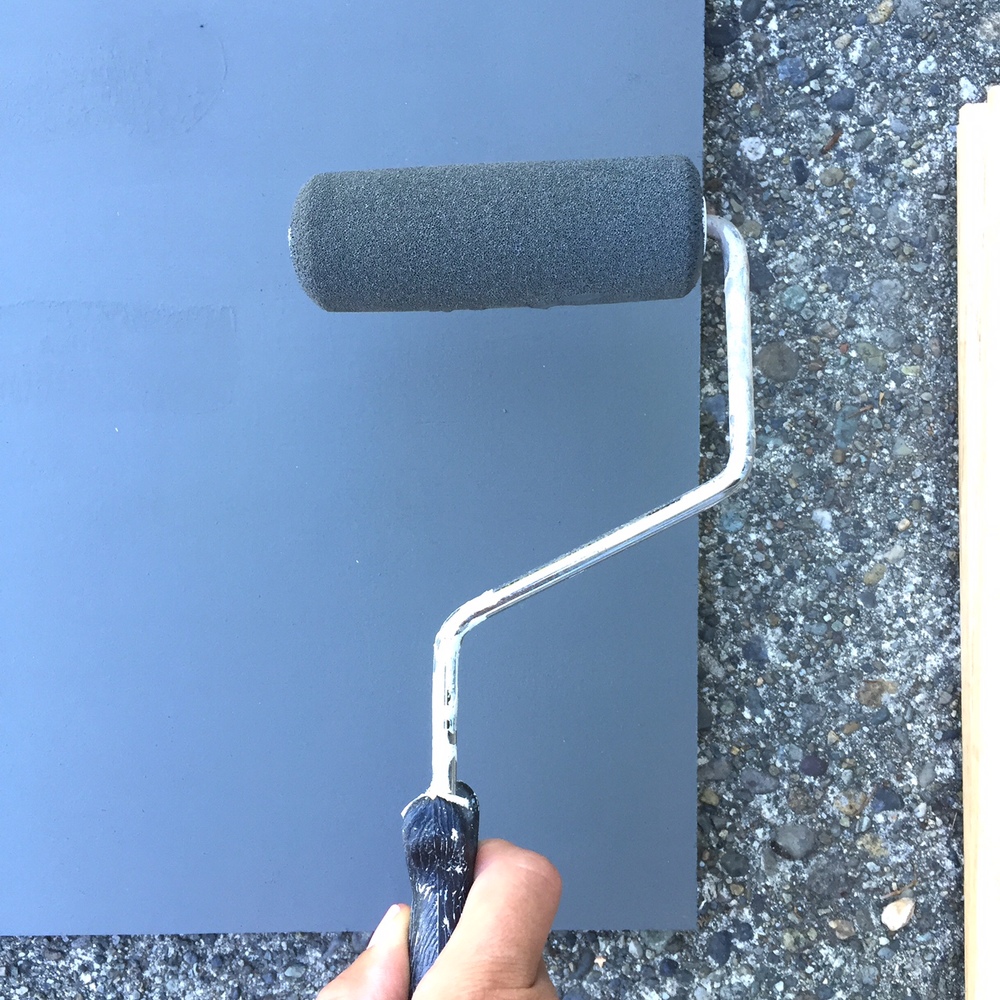
- Small Paint Roller
- Small Sponge Rollers
- Chalk Board Paint
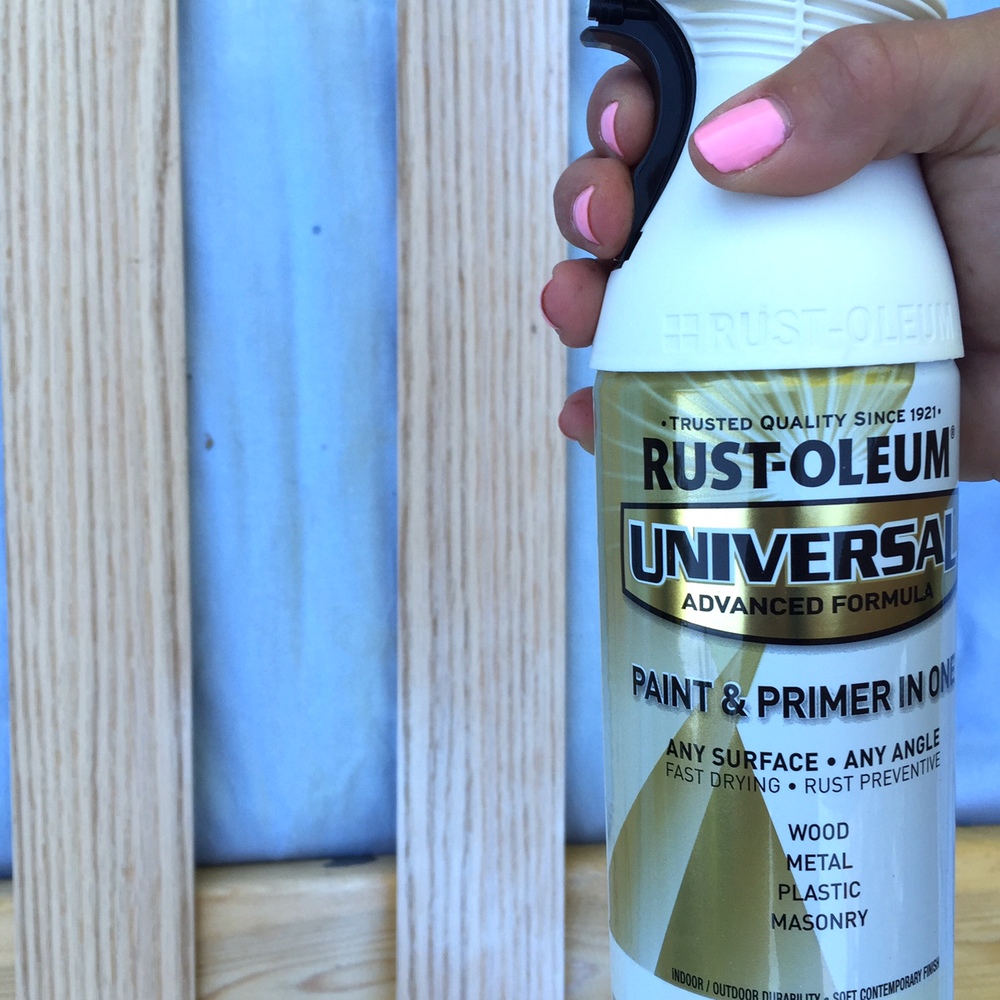
- Spray Paint for Frame
- Scotch Double Sided Mounting Tape – I ended up not using this, but bought it to help with mounting to the wall.
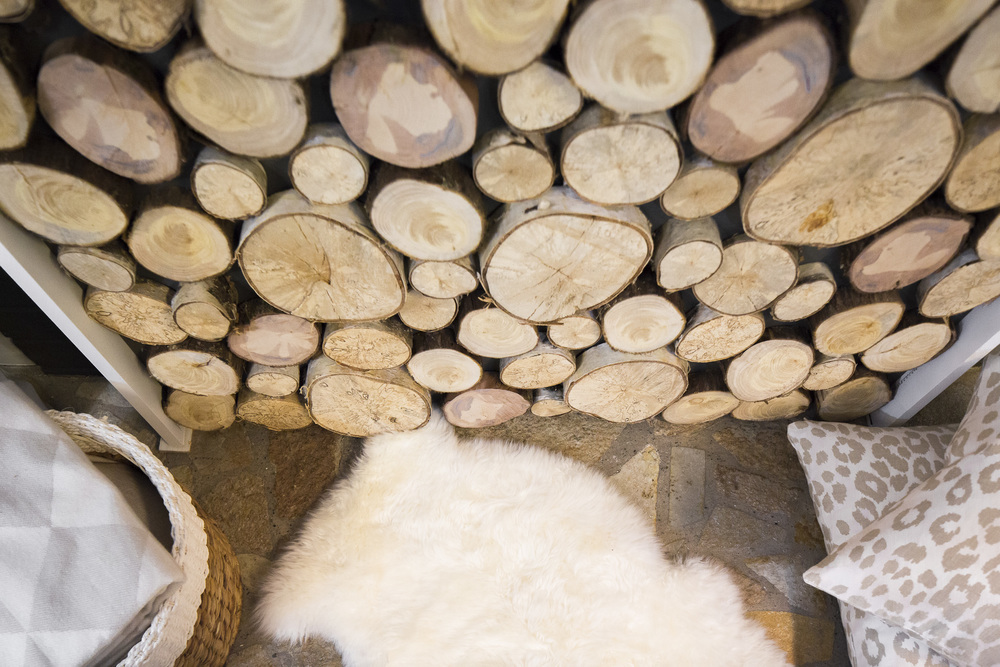
- 1″-1-1/2″ Cut Tree Rounds
All of this for right around $50!
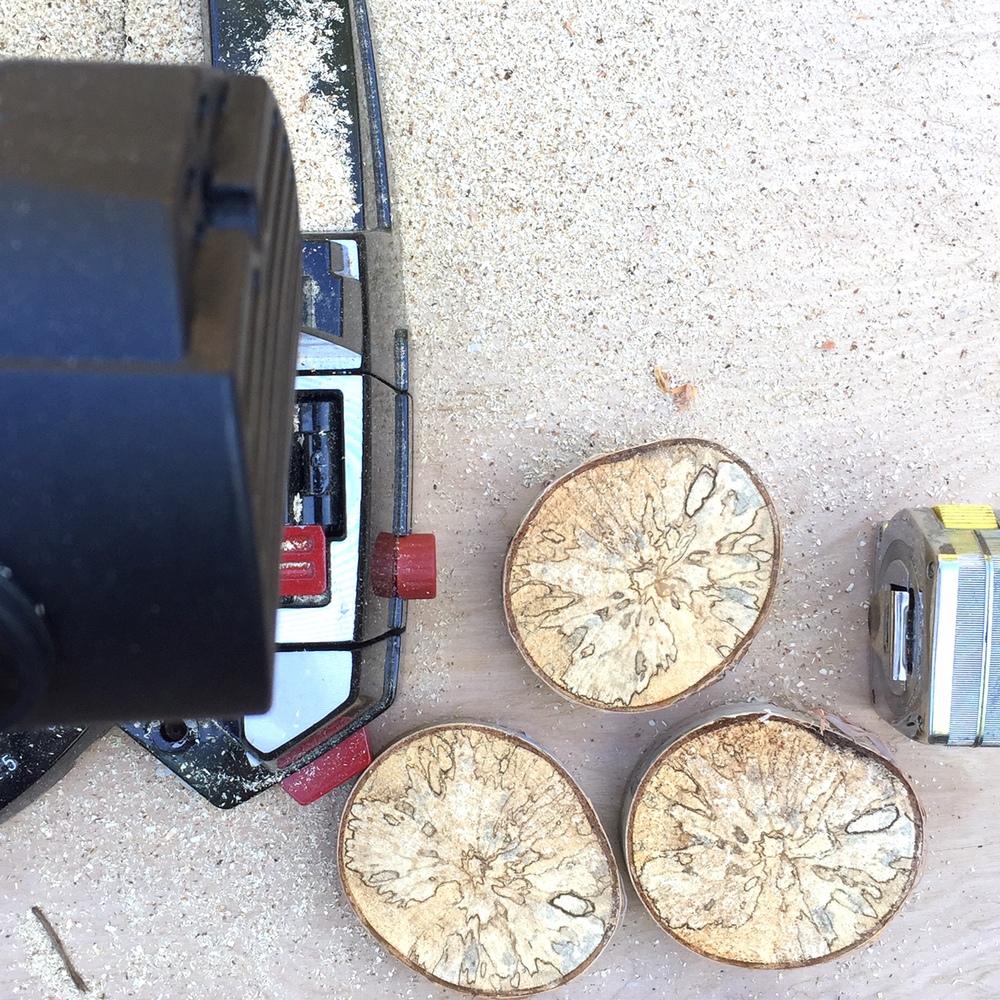
Step 1 : Cut the rounds of your tree branches into varying lengths of 1″ to 1’1/2″ for height variation.
Step 2 : Paint your back panel. I like chalkboard paint because of how rustic it looks behind the wood rounds.
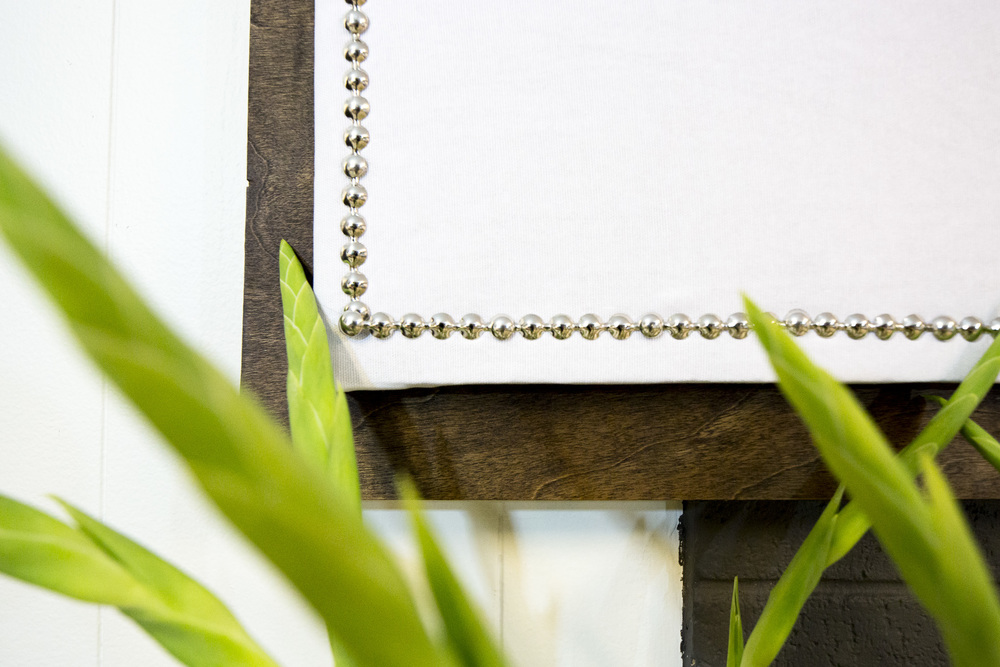
Step 3 : Cut your framing to size and prime/paint your framing pieces.
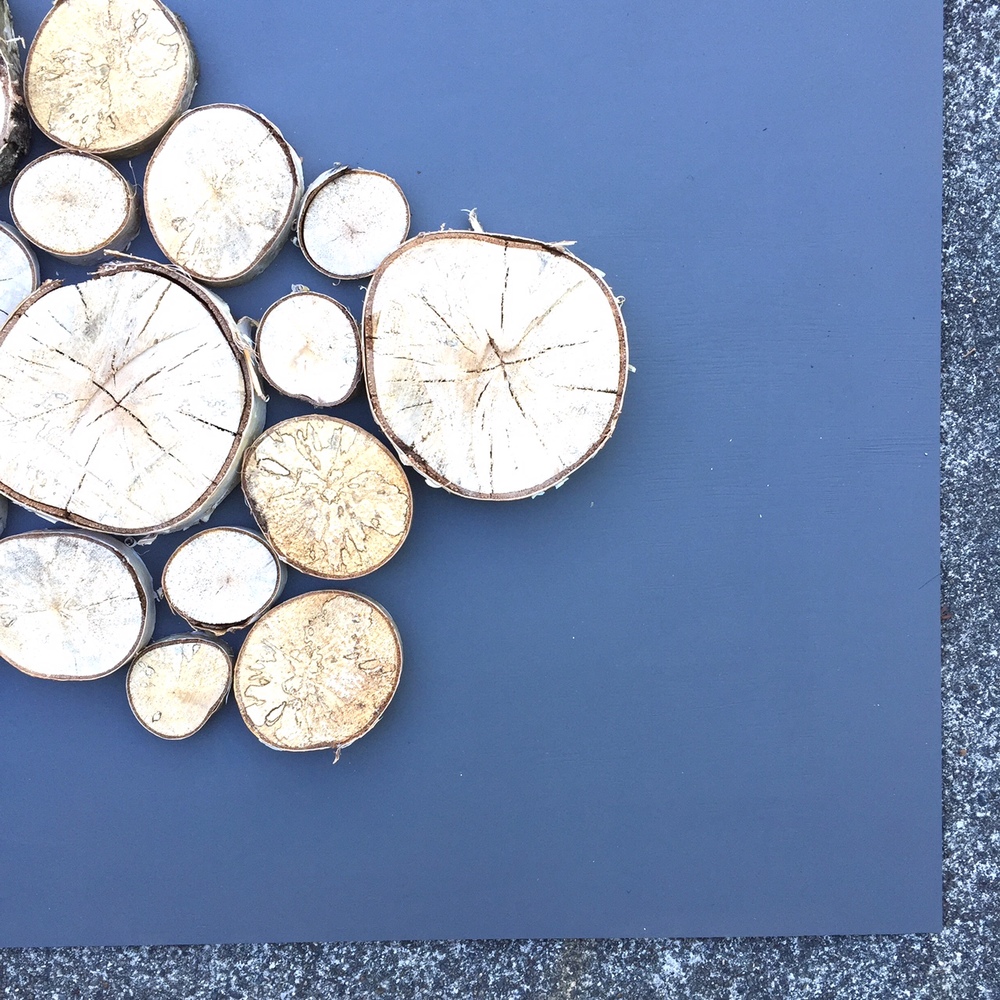
Step 4 : Start laying out your cut rounds next to one another to your liking. Remember, you want it to look natural, so don’t be afraid to mix them up!
Step 5 : Start attaching the wood rounds to the back panel with a dab of silicone in the center of each and allow to dry for at least 30 minutes.
Step 6 : Construct your frame using silicon and L Brackets.
Step 7 : Attach L Brackets to the frame to attach the back wood display panel to.
Step 8 : Attach back wood display panel to the L Brackets and Frame.
Step 9 : Discreetly use L Brackets to mount your new Faux Fireplace to the wall of your choice!
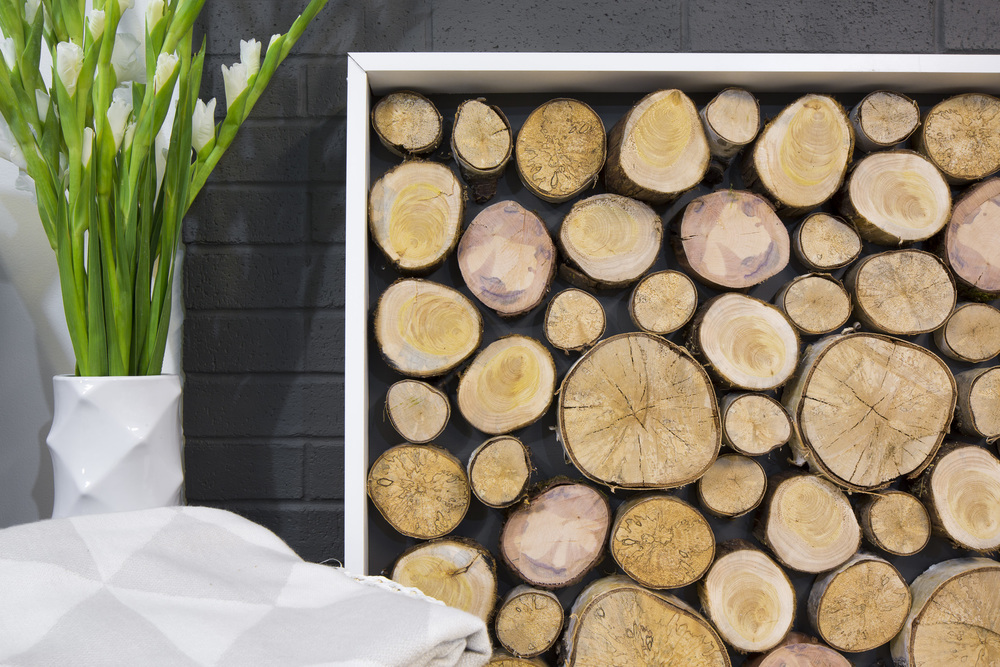
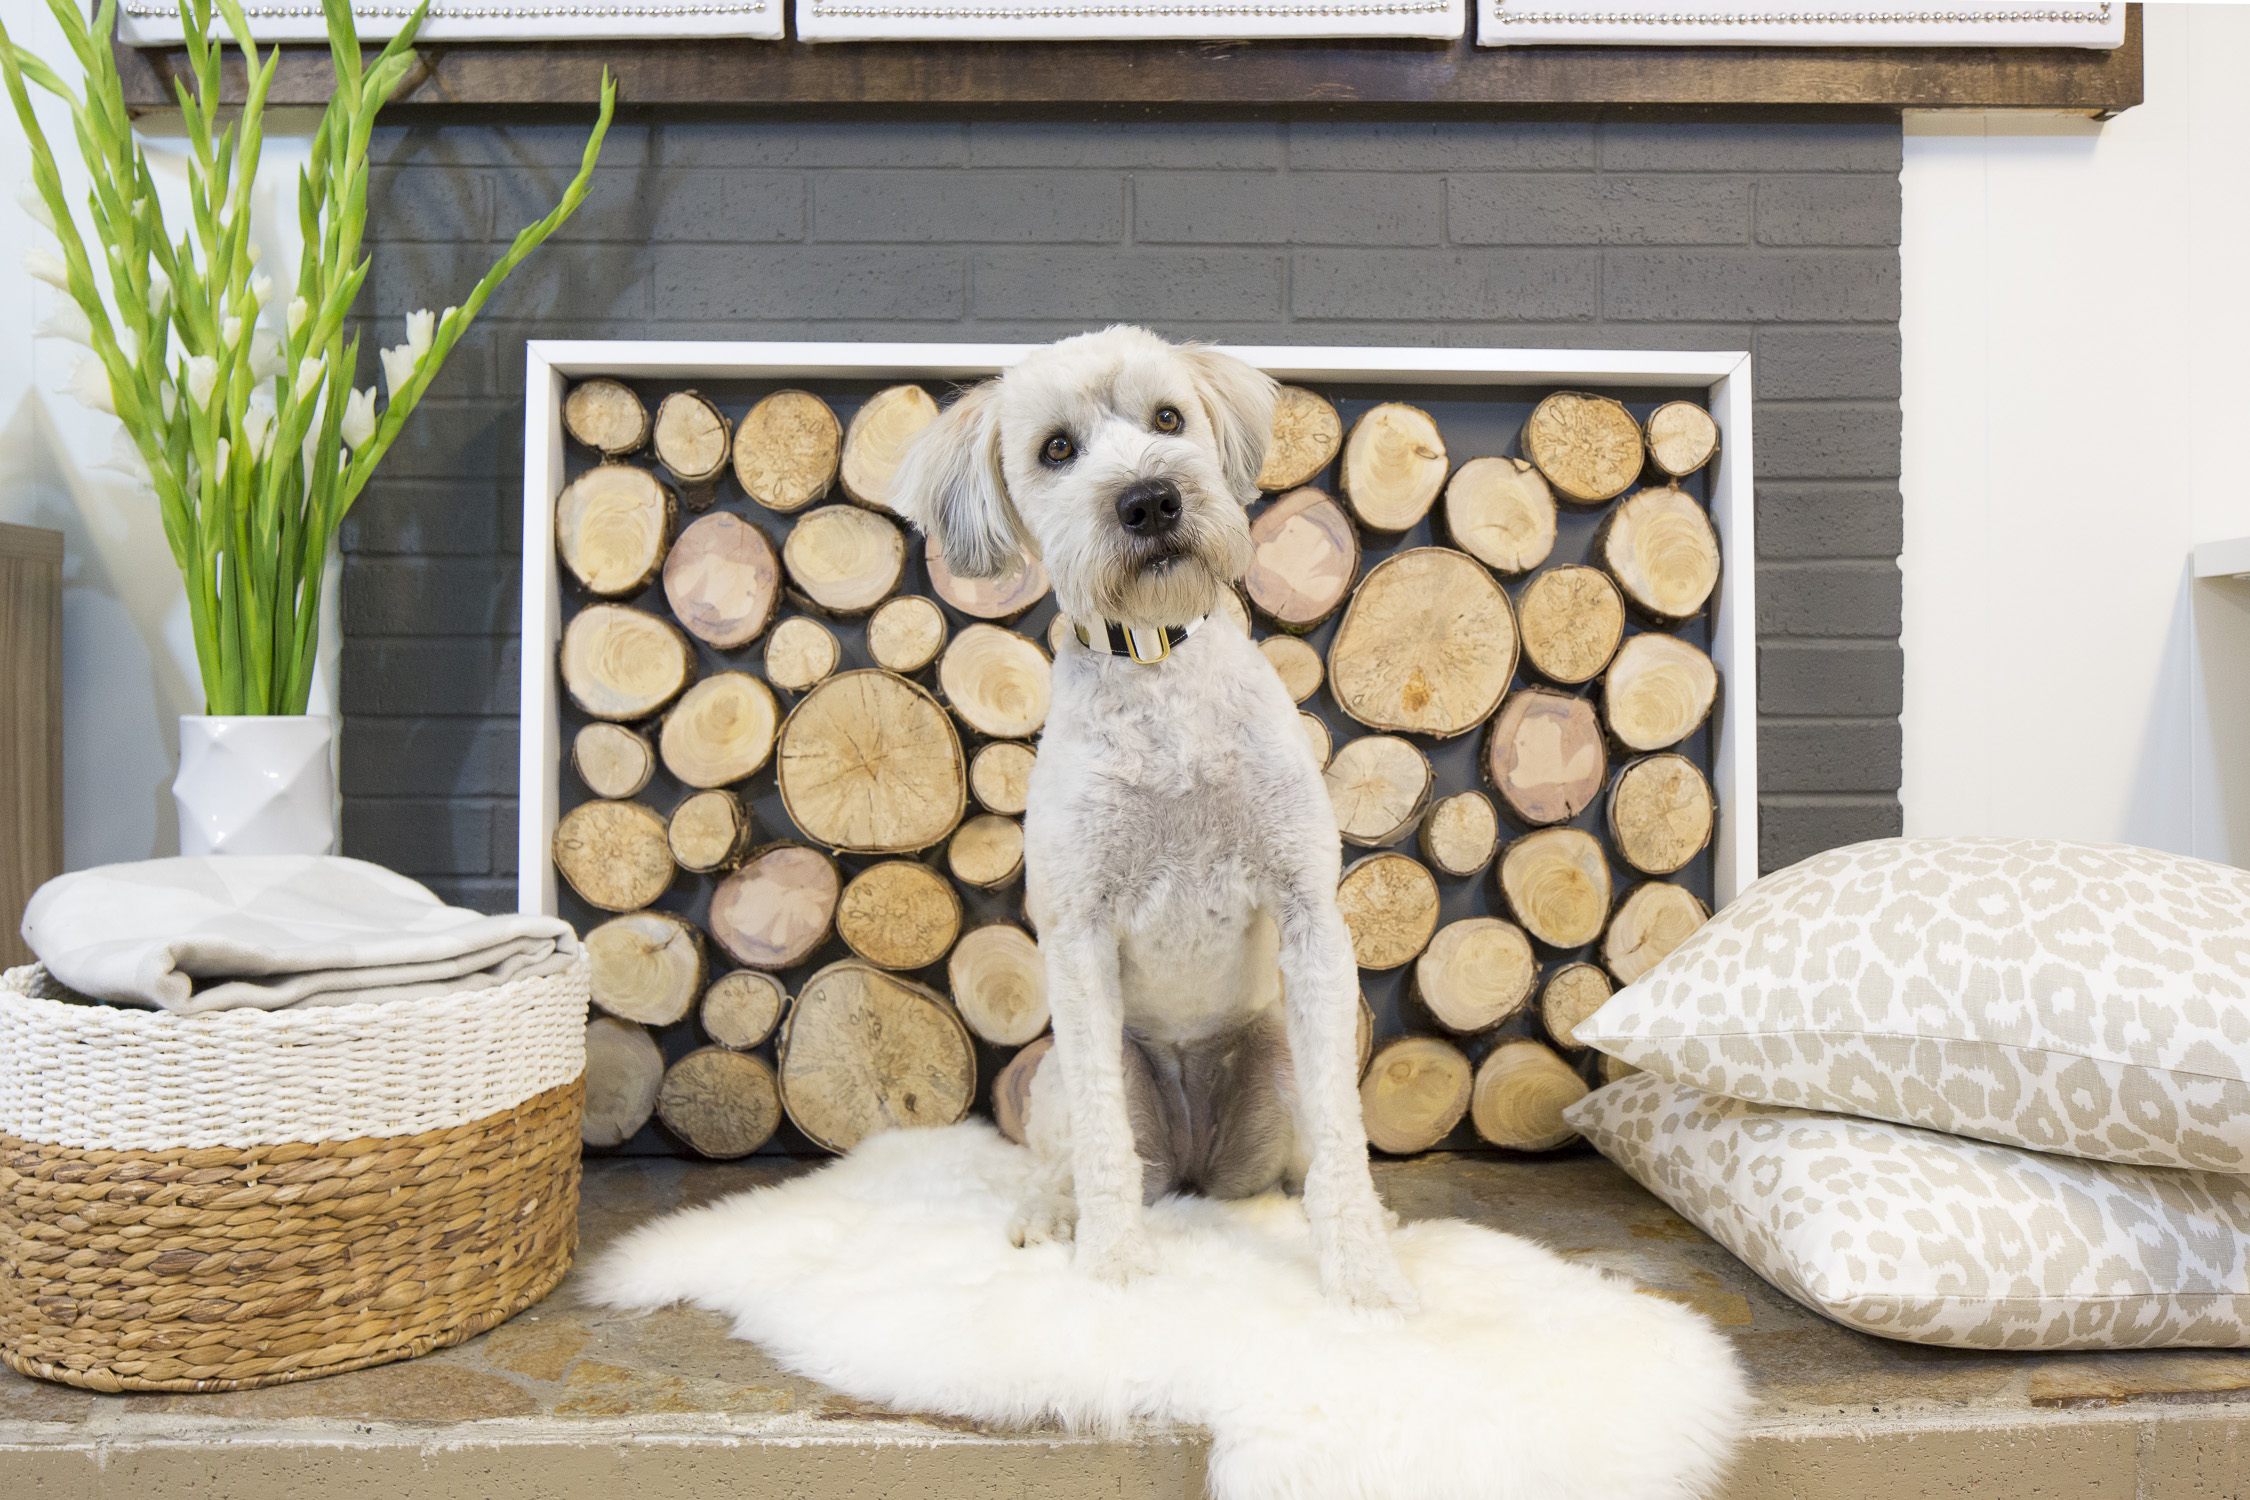
Wha-lah! Your Faux Fireplace is complete! You can now use this on any wall to create the “look” of having a fireplace or, you can use it as I’ve done here to cover up an existing eye sore of a non-working fireplace! If you have questions regarding this DIY Project, please feel free to shoot us an email at hello@whitestonedesigngroup.com!
Happy DIY-ing my friends! – heather scherie
Leave a Reply
For more of our latest projects, follow along on instagram at @whitestonedesigngroup. You can also follow along and see our latest curated collections @whitestonestyle.
whitestone design group 2020 | WEBSITE BY THE LOCAL FOLK | TEMPLATE by tonic |
Welcome to your story.
whitestone
206 486 5031
hello@whitestonedesigngroup.com
Love this design! Thanks for sharing and the easy to follow steps. Beautiful.
You’re so welcome!! Let me know if there’s any other DIY’s you’d love to see!